1973
Yankee Restoration Project
Pictures
taken 10/31/2003
Friday
was a day off, and I decided that this was
THE
day the pistons were going to come out of the
cylinders,
in one piece, or in many pieces.
A
lift was made from tie downs, so the whole weight
of
the engine could be supported by one cylinder.
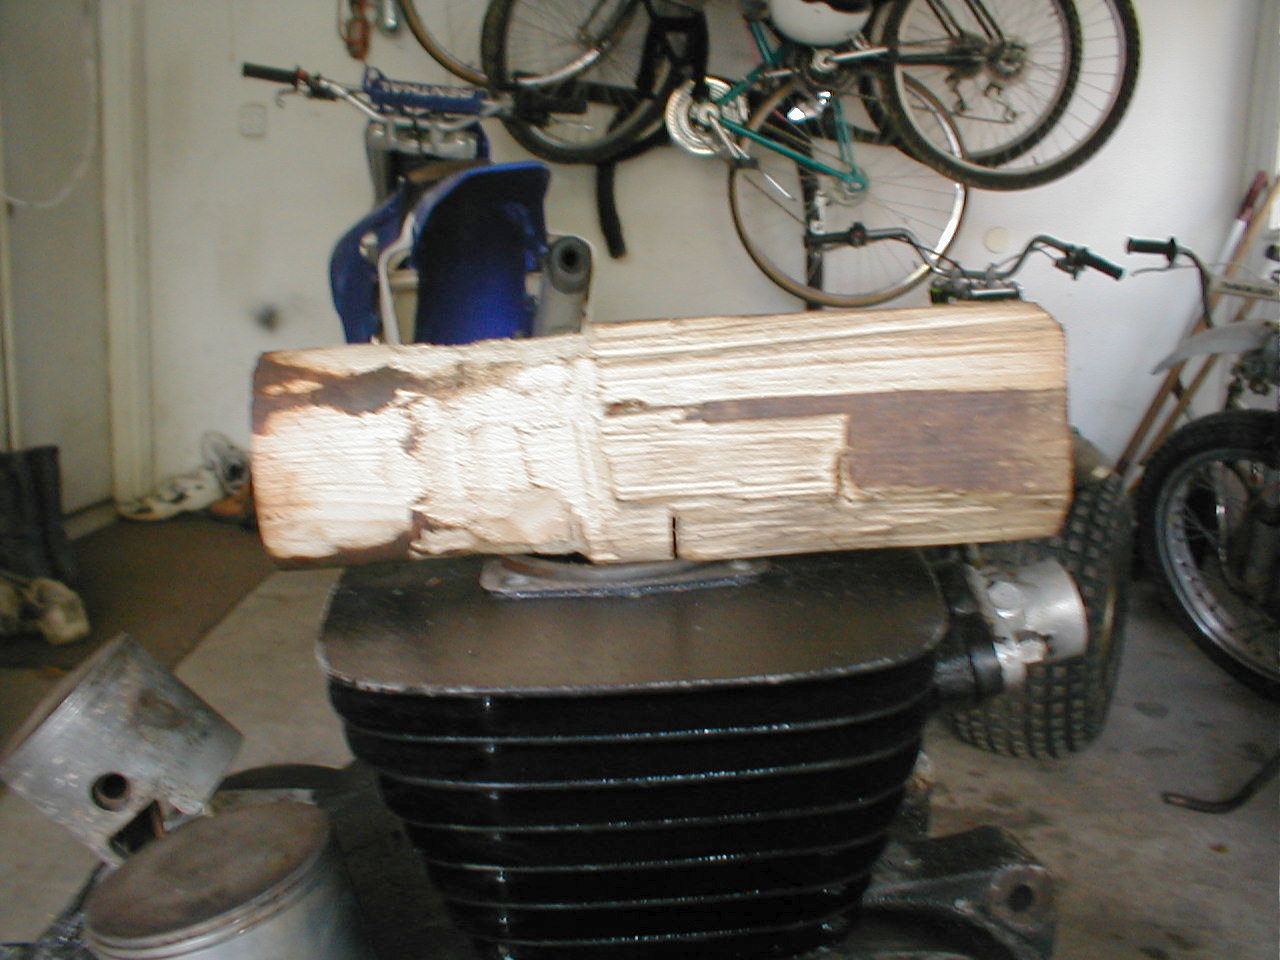
A
wooden ram was cut from 4 x 4 stock, same
size
as the cylinder. I noticed the end of the ram
wasn't
even, and almost trimmed it off with the
circular
saw. It then occurred to me that having
one
side hit the piston first, would concentrate
pressure
in a smaller area, and the ram could be
turned
as it was hit with a 5 lb. sledge hammer.
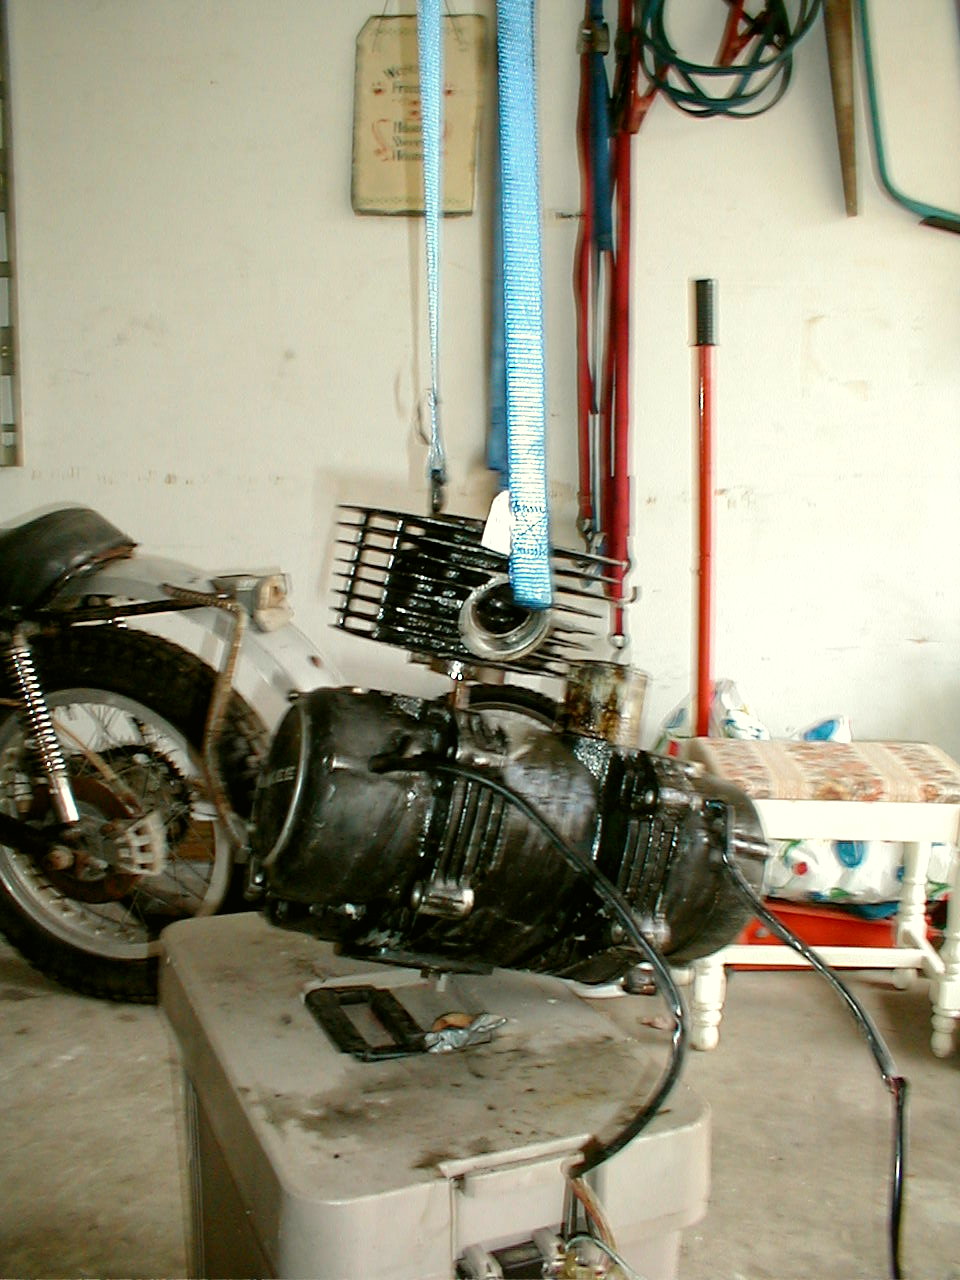
The
engine was resting on a work table, and
then
was lifted almost completely off the
table,
by one cylinder. This way, the weight
of
the engine was helping to extract the
piston
from the cylinder. The nylon straps
absorbed
some of the shock, and isolated
the
hammering to one piston, rod, and
main
bearing.
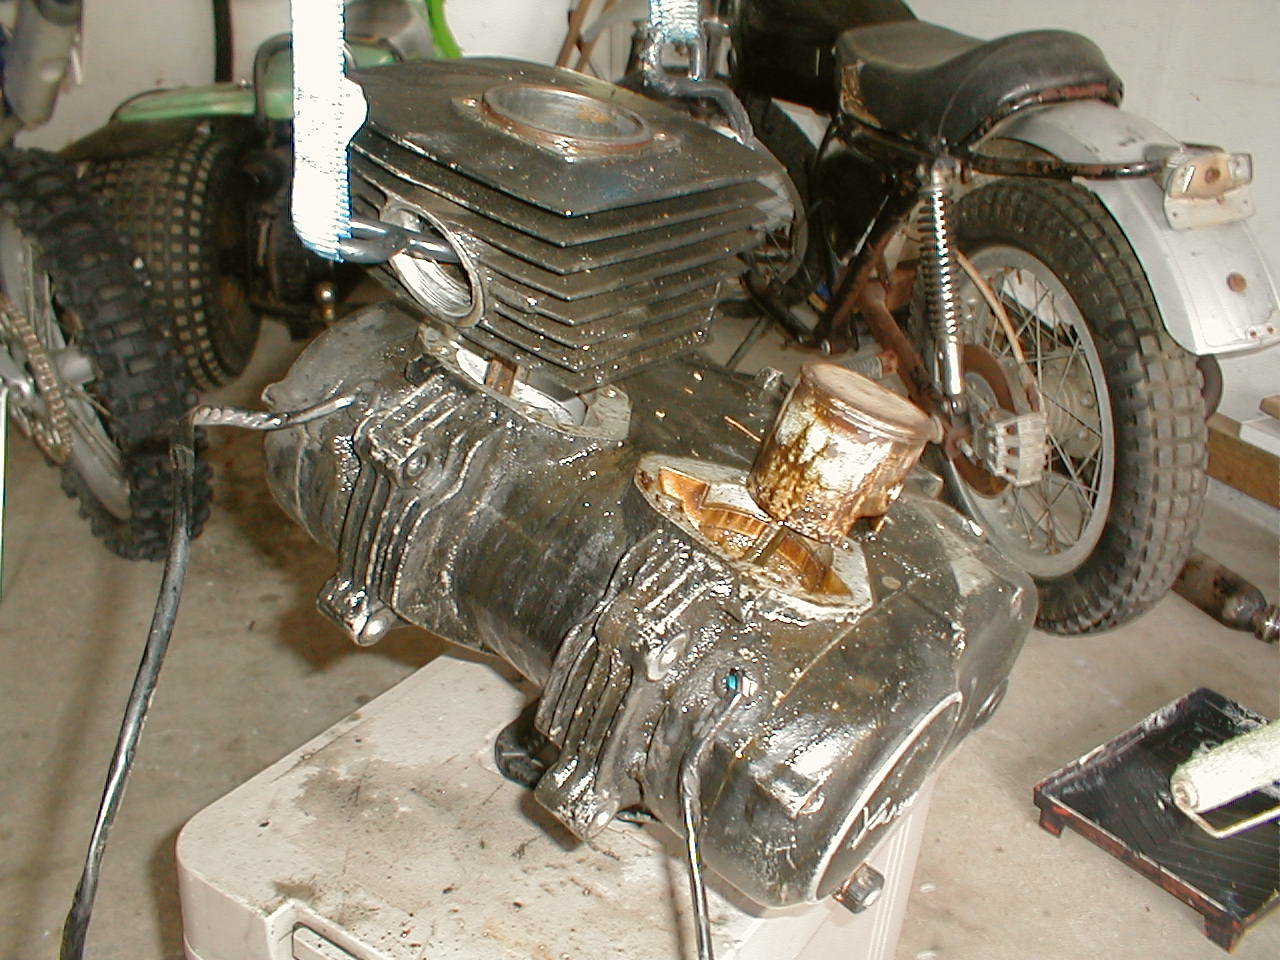
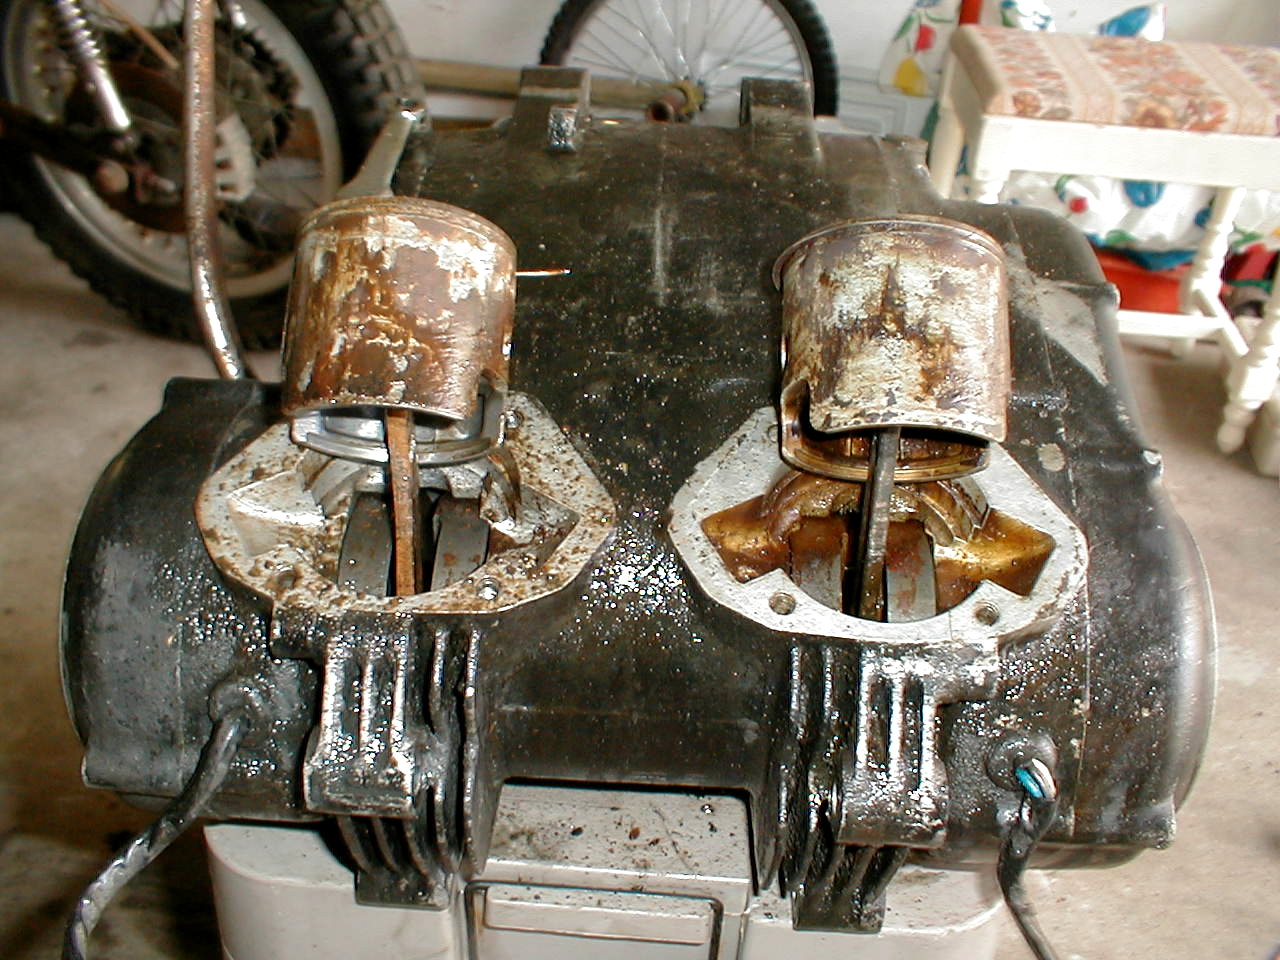
Each
side took about 15 minutes of solid pounding,
to
remove each piston. The gunk left in the engine
when
it was stored collected in the worn spaces of
the
bore, and didn't want to slide past the tight
spots
(bottom of bores) in each cylinder. One
set
of rings came off easy, the other set is soaking
again
back in the sauce, along with the carburetors.
It
doesn't get much worse that this. Hopefully
the
con rods and main bearings are usable, would
have
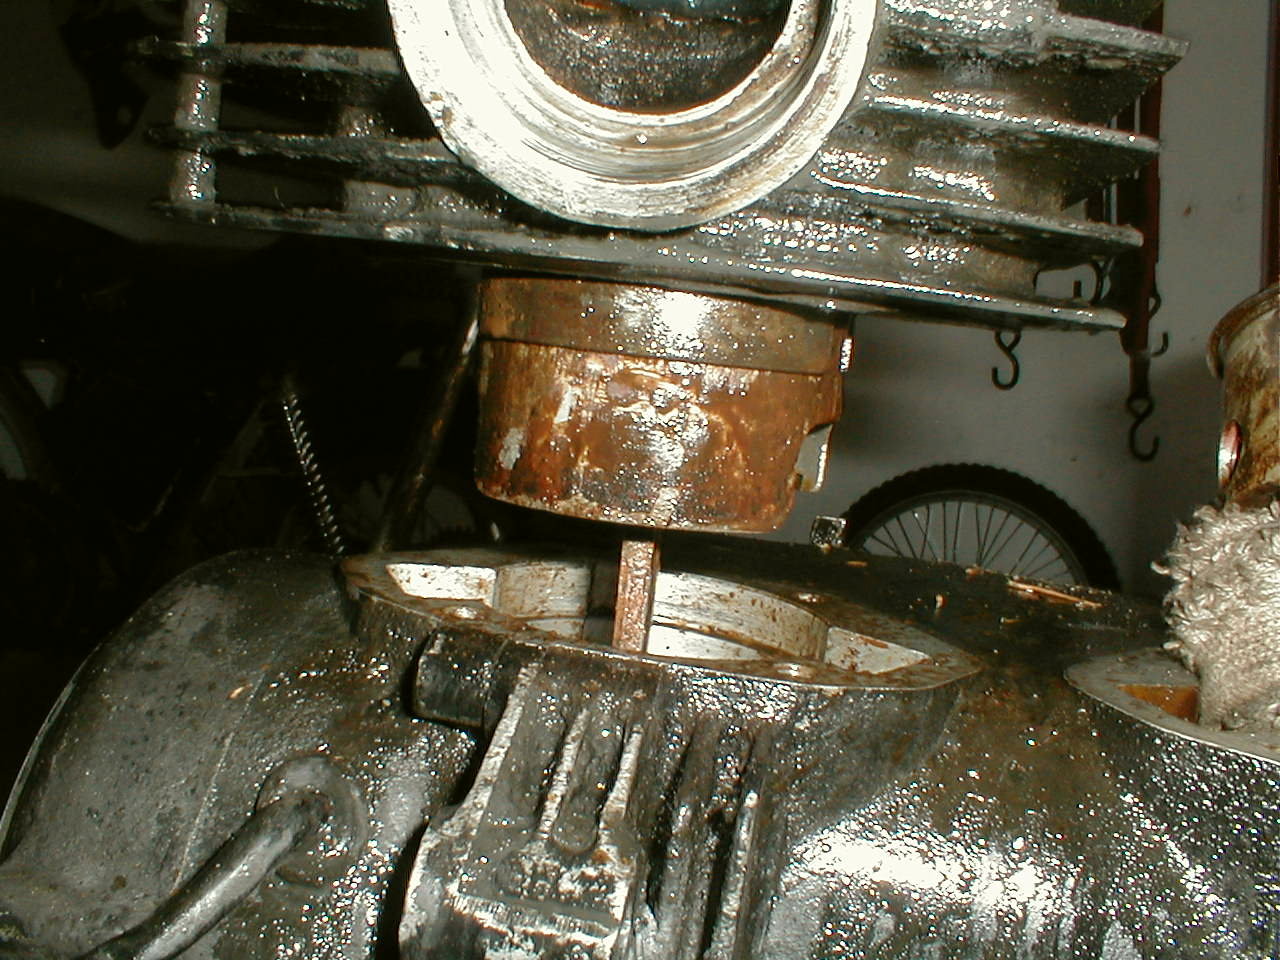
to split the cases to replace those. Now the
wrist
pins have to come out, and there is no reason
to
believe they will be any easier than the pistons.
"Free at last! free at last!
Thank God Almighty, we are free at last!"
The cylinders will be cut .20 over or replaced,
and new pistons will be used
for the rebuild. See the top left (from front)
piston? Big dry spot, even after almost two
weeks of soaking in kerosene.
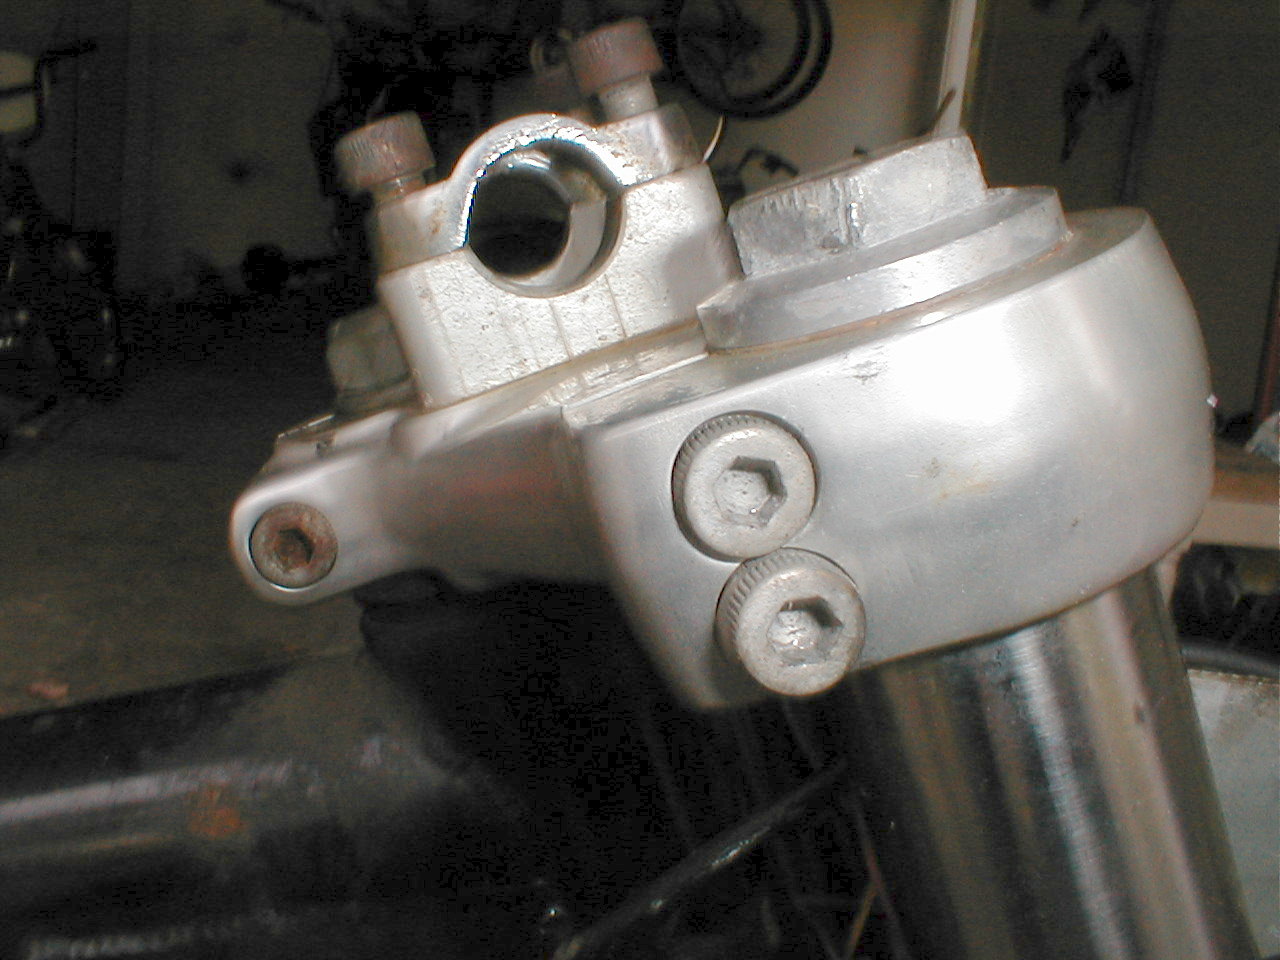
Who
can guess how many hex wrenches got broken
before
these triple clamp bolts came out?
Winner
gets a prize (not really).
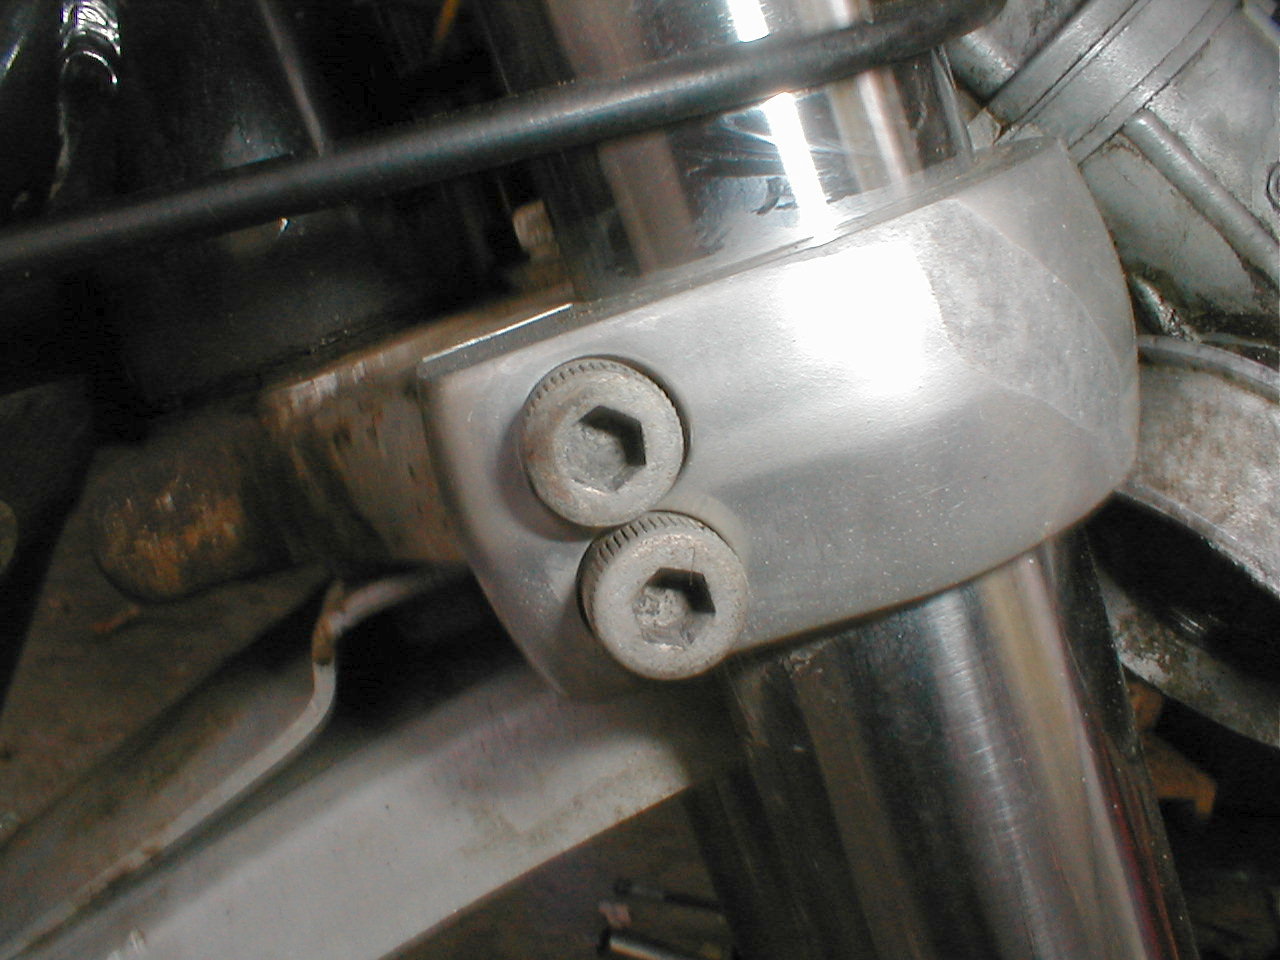
Guess
again, it was more than that.
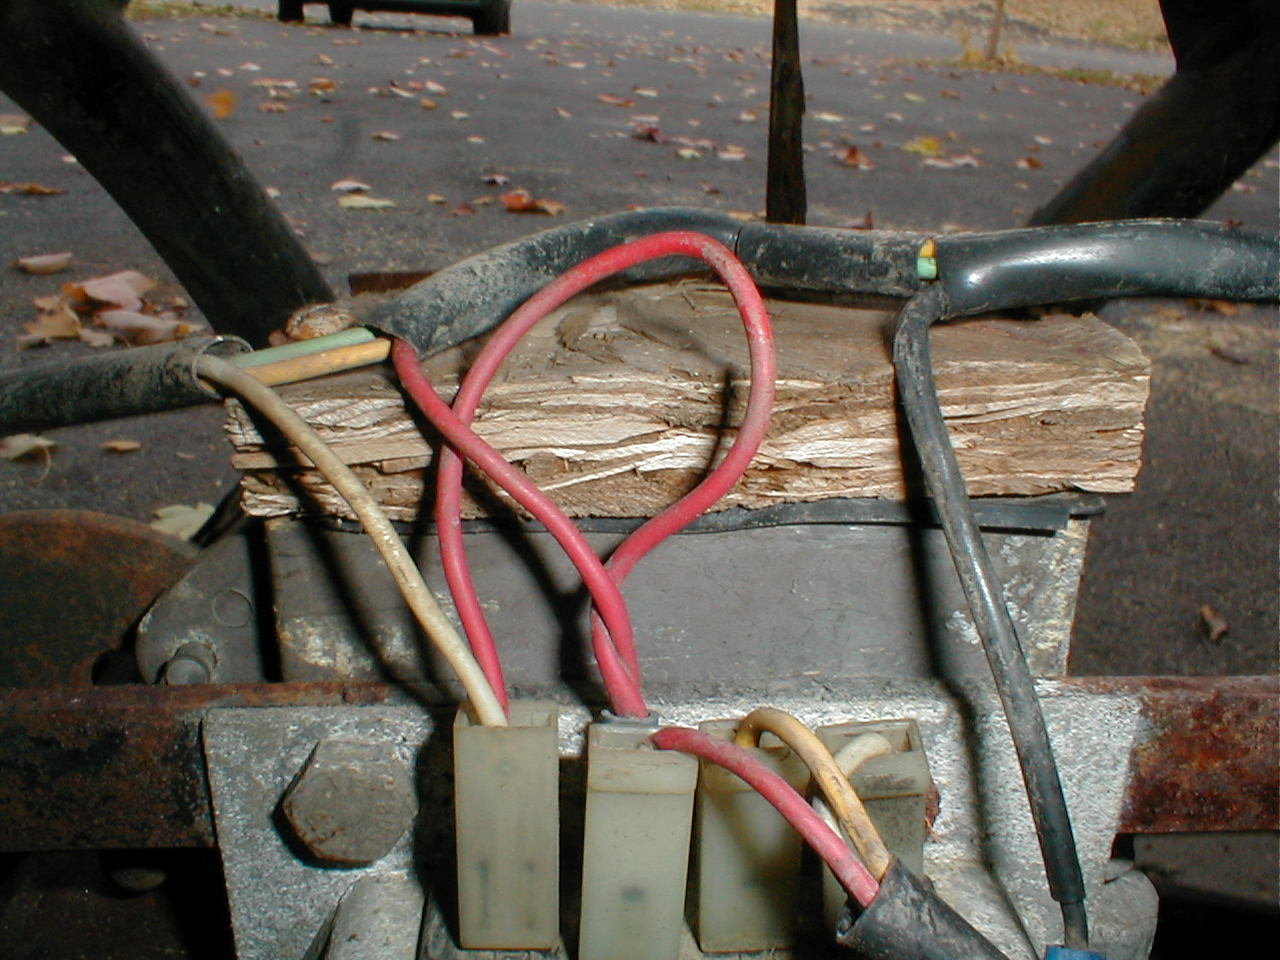
If
you needed a new cover for your brake
fluid
reservoir, wouldn't fiberboard be your
first
choice for a replacement?
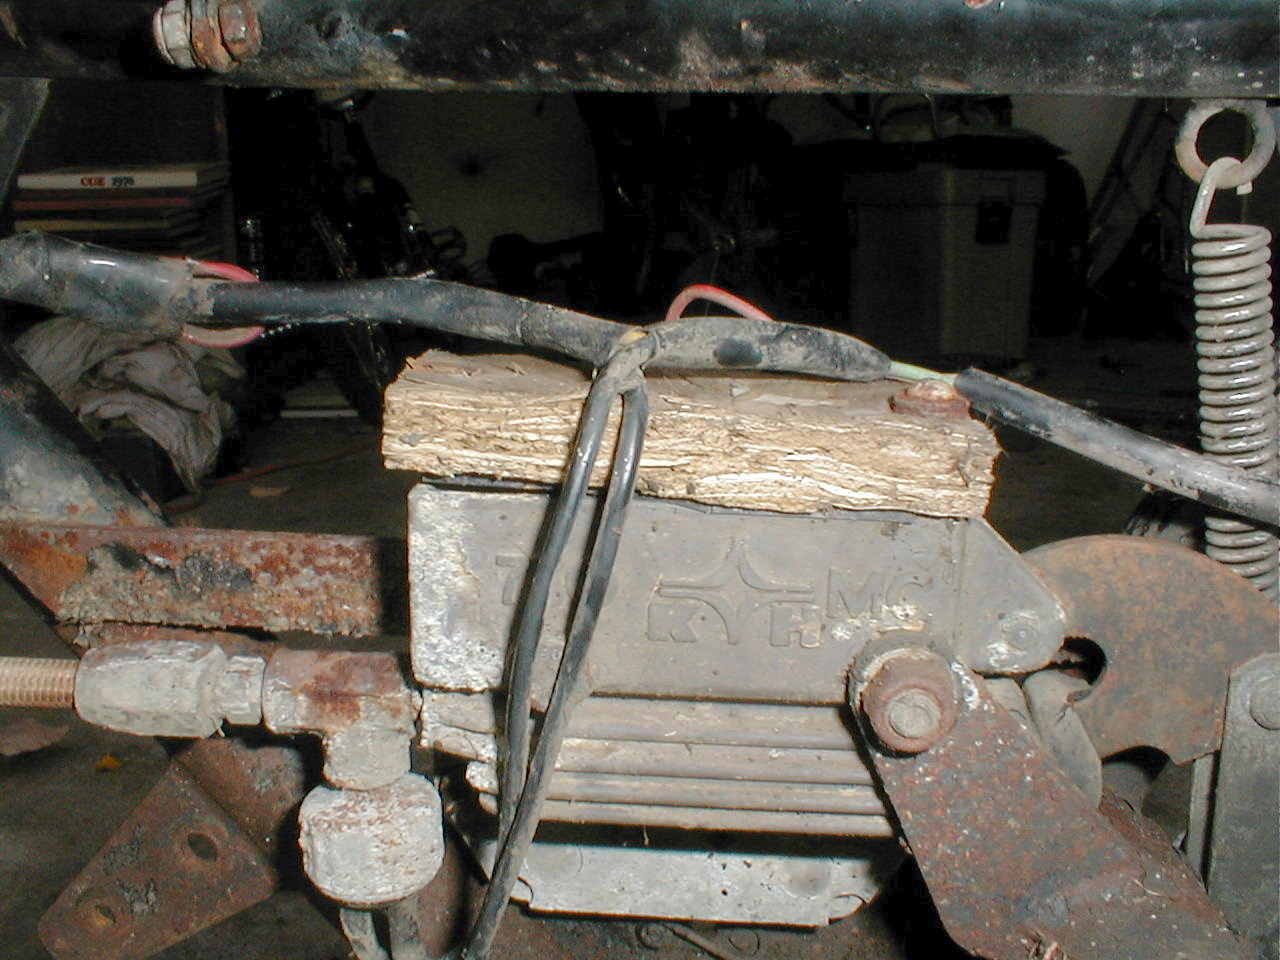
This
most likely lasted at least a day before
beginning
to let moisture into the brake fluid,
lines,
and cylinder, creating the rust and
corrosion
that is there now.
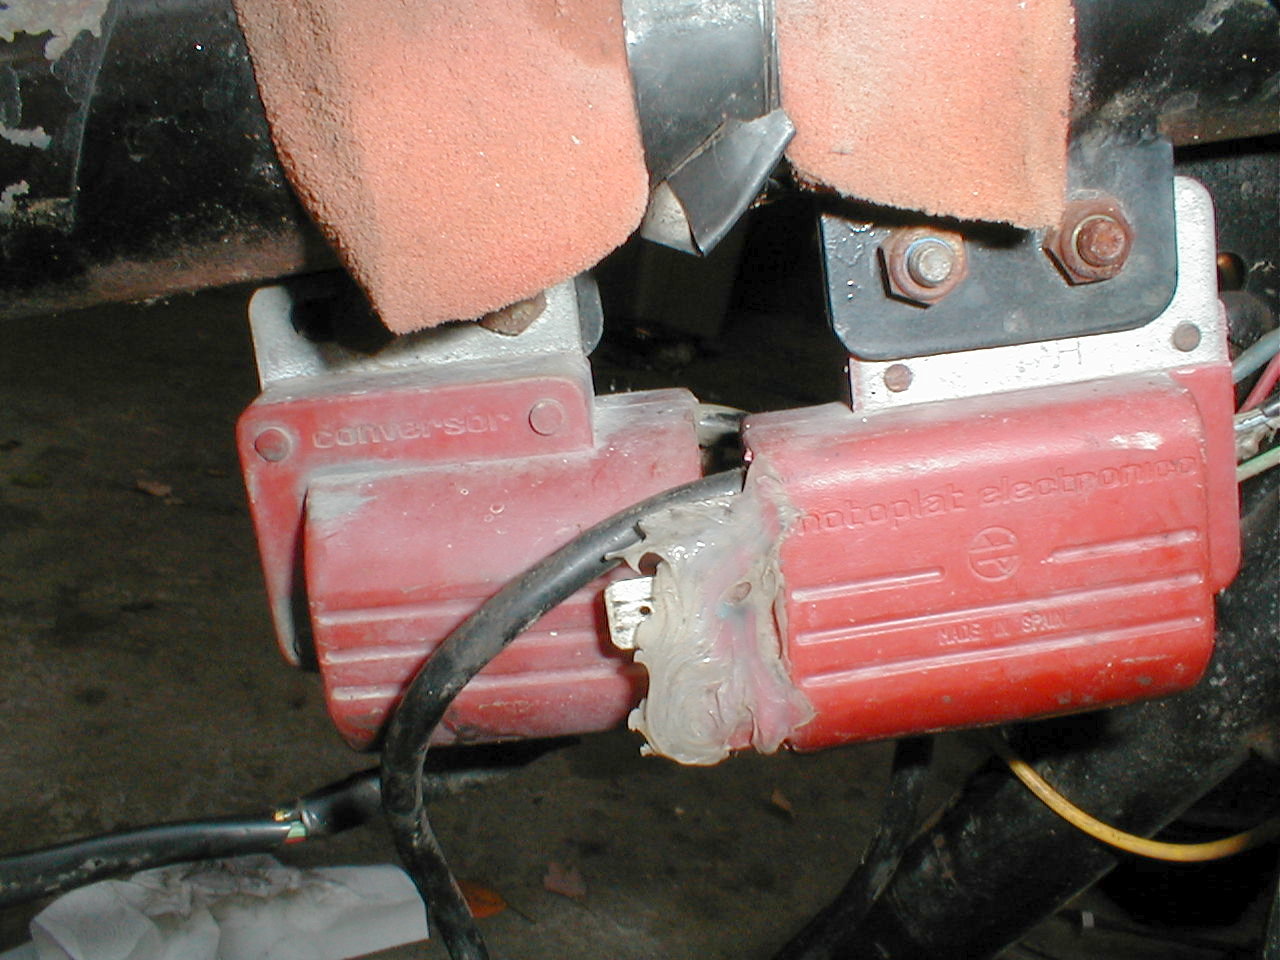
Looks
like someone has been messing with these
coils
already, not reassuring that these will light
the
fire when the engine rebuild is complete.
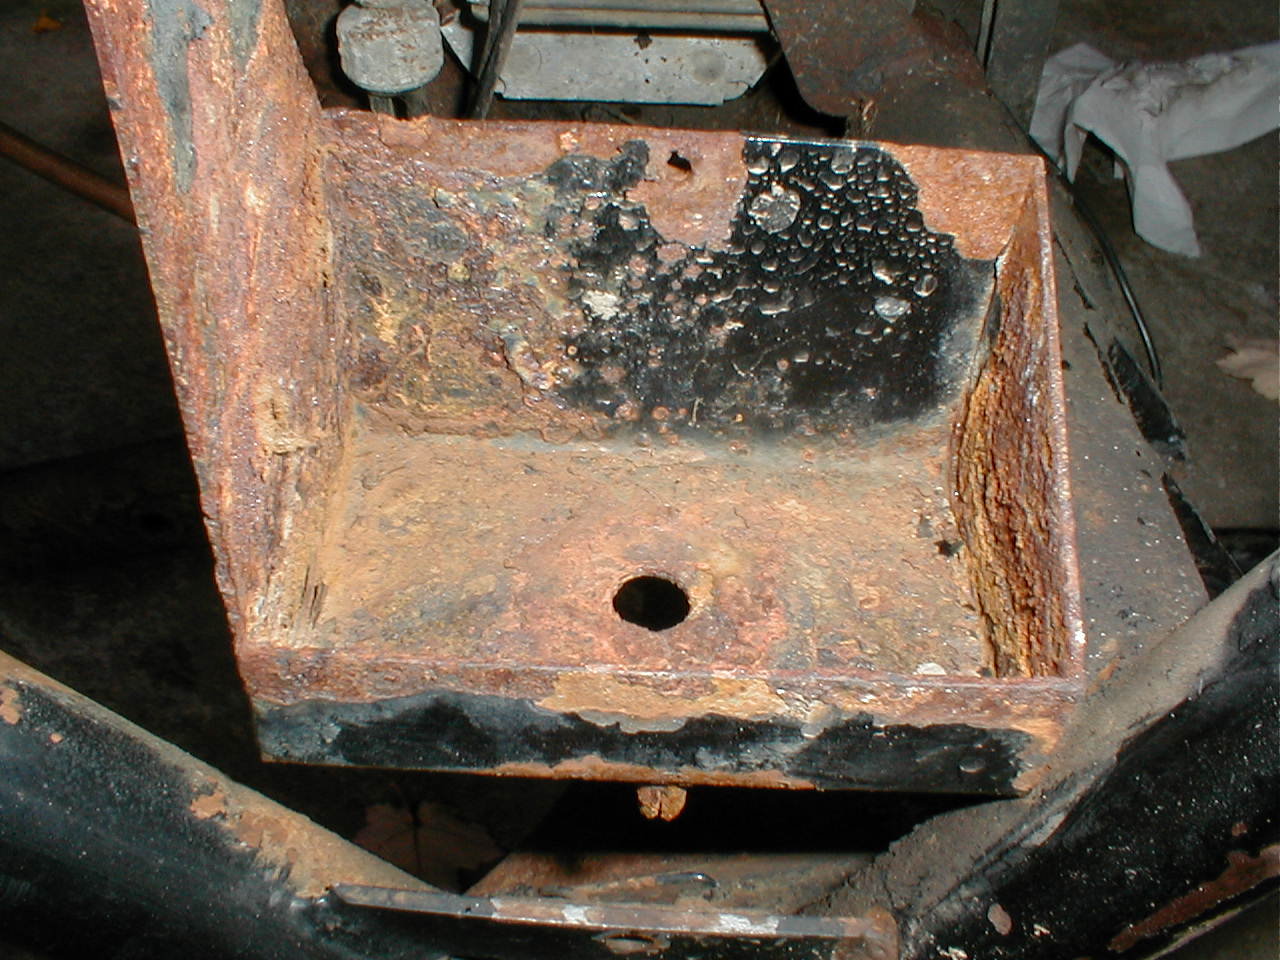
Battery
boxes always seem to be rusty, either
due
to the acid leaking out, or the fumes in
the
area, or the flow of electric. This one
will
need a good sandblasting, primer coat,
and
final coat of paint.

The
speedo was taken apart, cleaned, oiled,
and
checked for operation. It looks like the
odometer
and trip meter are history, so the
drive
gears were taken out for them.
The
speedometer looks to be working OK,
that's
all that is needed for now
anyway.
Replacement glass will be found,
and
the seal ring fastened back on to make
it
as water resistant as possible.
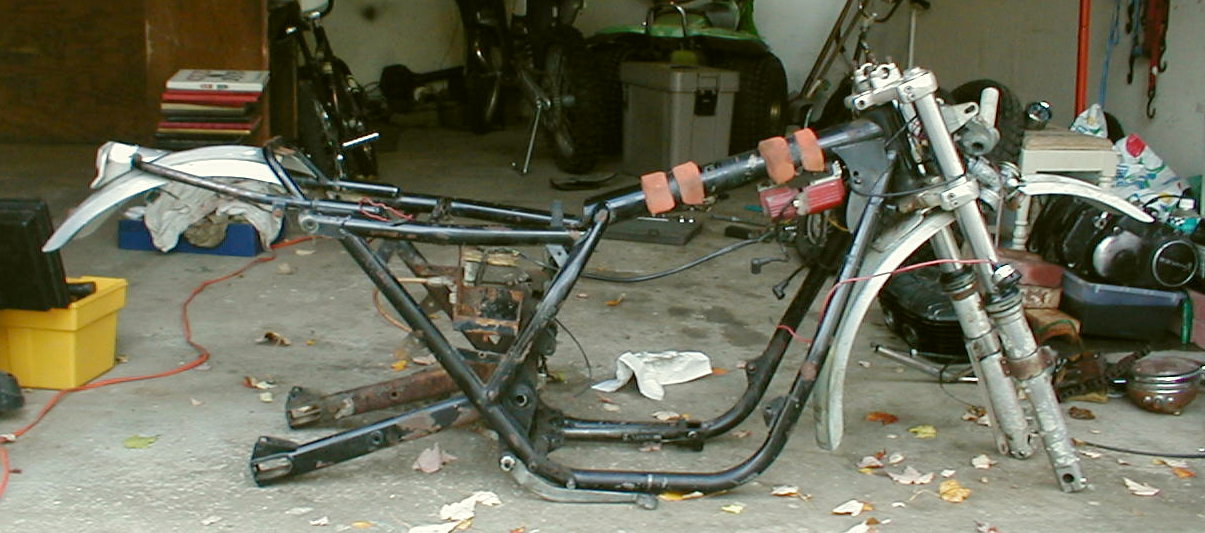
Just
about ready for sand blasting here. All black
paint
and rust to come off, replaced by Yankee
Silver
all around, even the nuts and bolts. If they
look
better in black, they can be changed later.
Return Page 2
3
4 5
6 7
8 9